


Eyelashes play a crucial role in framing the eyes, making them appear more expressive and captivating. However, not everyone is naturally blessed with long, voluminous lashes. While mascaras and lash serums offer some enhancement, they often fall short of delivering truly dramatic results. That’s where DIY eyelash extensions come in – a game-changing beauty trend that lets you achieve salon-quality lashes at home.

The Nanolash DIY Eyelash Extensions provide a seamless way to create a fuller, more defined lash line without the need for costly and time-consuming professional appointments. But are they worth the hype? Let’s dive into everything you need to know about these DIY cluster lashes and why they might be the perfect addition to your beauty routine.
The Rise of DIY Lash Extensions: Who Are They For?
Just a few years ago, DIY lash extensions seemed out of reach for everyday users. Women either had to rely on salon professionals for extensions or struggle with traditional strip lashes that often felt uncomfortable and looked unnatural.
Now, thanks to advancements in beauty technology, achieving stunning lashes from the comfort of your home is easier than ever. DIY cluster lashes have revolutionized lash application, offering a flexible and user-friendly alternative for those seeking a customized, salon-quality look.
But who can benefit most from Nanolash DIY Eyelash Extensions?
- Busy professionals and students – If you’re constantly on the go, a 10-minute application that lasts for days is a game-changer.
- Lash enthusiasts – Love experimenting with different lash styles? These DIY lash clusters allow you to mix and match for a variety of looks.
- Beginners and beauty lovers – No prior experience? No problem! The intuitive application process makes it easy for everyone.
- Event-ready beauties – Whether it’s a wedding, party, or an impromptu photoshoot, DIY cluster lashes provide an instant glam effect.
- Those avoiding salon costs – Why spend hundreds on salon extensions when you can achieve the same effect at home for a fraction of the price?
The best part? If you don’t love the style, you can simply remove them in seconds and try again. It’s that simple.
Exploring Nanolash DIY Eyelash Extensions
False lashes should cater to all beauty preferences, and Nanolash delivers exactly that. Their DIY Eyelash Extensions are designed to be versatile, giving you full control over your lash look.
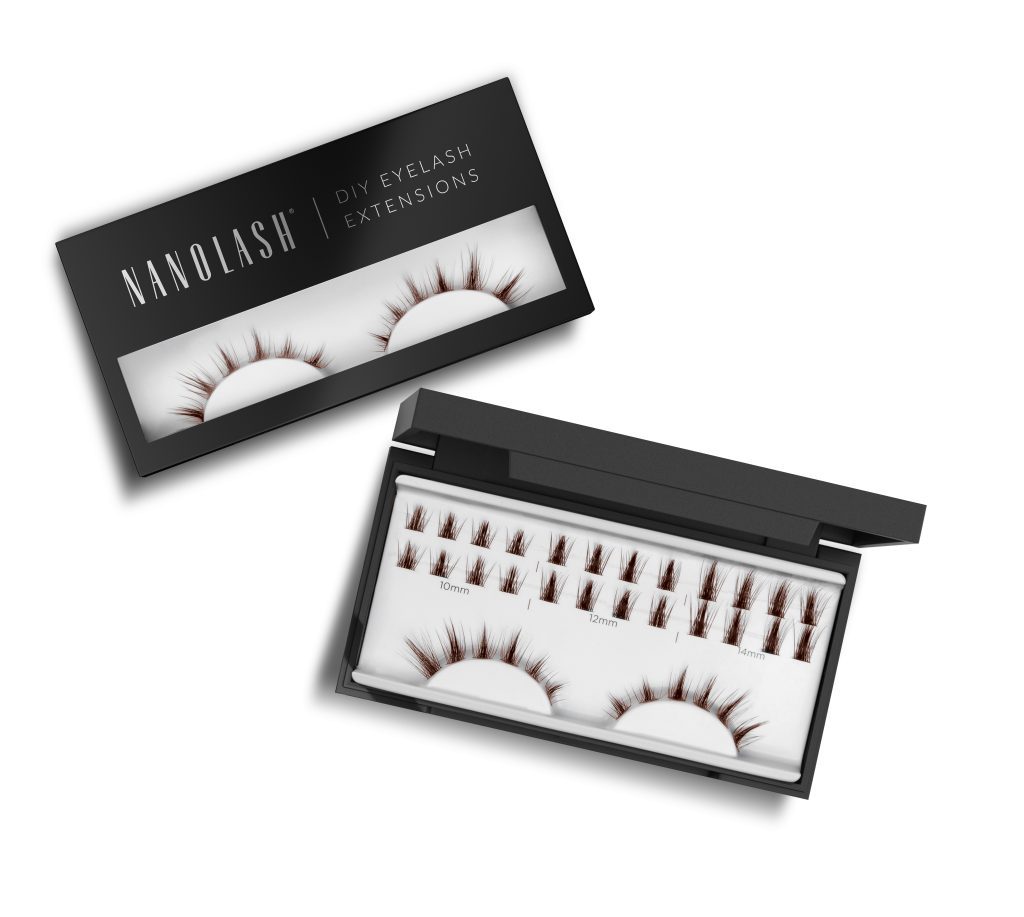
Each DIY lash extension kit includes 36 cluster lashes in various sizes, ensuring you can tailor them to your preferred volume and length. Available lengths include:
- 10 mm – Ideal for a natural, everyday look.
- 12 mm – Perfect for subtle enhancement with a bit more drama.
- 14 mm – Great for those who love bold, voluminous lashes.
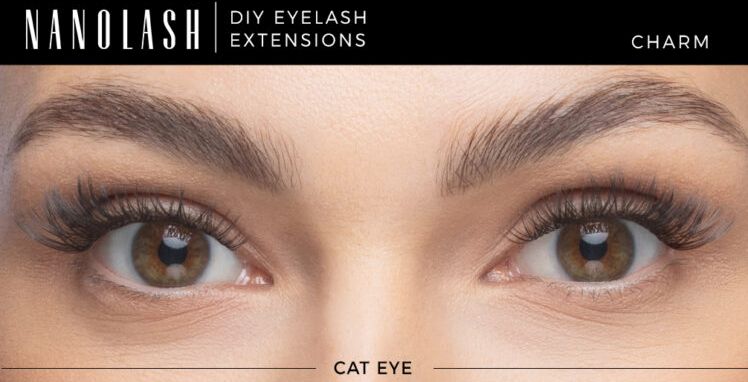
Additionally, Nanolash offers eight different lash styles, allowing you to mix and match to achieve anything from a soft, wispy effect to a full, dramatic look.
What’s Inside the Nanolash Eyelash Extension Kit?
For those who want the complete experience, Nanolash offers a thoughtfully curated eyelash extension kit that contains everything needed for a flawless application:
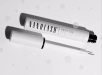
- Bonder (Glue) – A special adhesive that takes 30 to 60 seconds to reach the perfect level of tackiness for secure placement.
- Sealer – A finishing touch that removes stickiness and extends the wear time of your DIY cluster lashes.
- Remover – Designed to gently dissolve the adhesive, allowing for easy and damage-free removal.
- Lash Tweezers – A precision applicator to assist in applying the lash clusters seamlessly.
With these essentials at your disposal, applying DIY cluster lashes becomes effortless, even for first-timers.
How to Apply DIY Cluster Lashes Like a Pro
Achieving professional-looking DIY lash extensions at home is surprisingly simple. With the right technique, you can create stunning lashes in just 10 minutes. Here’s a step-by-step guide:
Step 1: Prep Your Natural Lashes
Start with clean, dry lashes to ensure maximum adhesion. Remove any traces of mascara or oils that could affect the bond.
Step 2: Apply the Bonder
Using the bonder glue, lightly coat the base of your natural lashes. Wait 30 to 60 seconds until it becomes tacky – this is crucial for securing the clusters.
Step 3: Attach the Cluster Lashes
Using the lash tweezers, carefully pick up a lash cluster and place it underneath your natural lashes, about 1 mm away from the waterline. Repeat the process, layering clusters as needed to create your desired look.
Step 4: Seal the Lashes
Once all cluster lashes are in place, use the sealer to eliminate any excess stickiness and set the extensions for long-lasting wear.
Step 5: Enjoy Your Lashes!
With proper care, your DIY cluster lashes can last up to 5 days, giving you effortless beauty all week long.
The Benefits of Nanolash DIY Eyelash Extensions
There’s a reason Nanolash DIY Eyelash Extensions are gaining popularity. They offer numerous benefits that set them apart from traditional lash options:
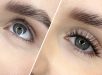
1. Natural Look & Feel
Unlike strip lashes that can appear heavy or fake, DIY lash clusters blend seamlessly with your natural lashes, providing a soft, natural finish.
2. Customizable Length & Volume
With multiple lash lengths and styles, you can customize your look daily – whether it’s a subtle enhancement for work or dramatic volume for an evening out.
3. Cost-Effective Alternative to Salon Extensions
Salon extensions can be expensive, requiring frequent refills. DIY cluster lashes offer a budget-friendly solution without sacrificing quality.
4. Lightweight & Comfortable Wear
Thanks to their soft, lightweight design, Nanolash extensions feel comfortable and non-restrictive, even after extended wear.
5. Easy Removal & Reusability
No more tugging or struggling with stubborn glue! The remover allows for gentle, damage-free removal, and some users claim the lash clusters can even be reused.
Maintaining Your DIY Lash Extensions for Long-Lasting Results
To extend the life of your DIY lash extensions, follow these simple care tips:
- Avoid oil-based products – Oils can weaken the adhesive, causing lashes to detach sooner.
- Sleep on your back – This prevents unnecessary friction that can loosen the clusters.
- Gently cleanse the lash line – Use a lash-friendly cleanser to maintain hygiene without compromising adhesion.
- Minimize water exposure – While the extensions are durable, excessive moisture can reduce their lifespan.
By following these guidelines, you can enjoy flawless DIY lashes for days.
Are Nanolash DIY Eyelash Extensions Worth Trying?
The verdict is in – Nanolash DIY Eyelash Extensions are a must-have for anyone looking to enhance their lashes with minimal effort. Whether you’re new to DIY lash extensions or a seasoned pro, these DIY cluster lashes offer unmatched versatility, affordability, and ease of application.
With a 10-minute application, up to 5 days of wear, and customizable styling options, they’re perfect for anyone seeking a salon-quality look at home. Plus, their comfortable wear and effortless removal make them a superior alternative to traditional strip lashes and costly salon extensions.
If you’re ready to transform your lash game, Nanolash DIY Eyelash Extensions are definitely worth your attention. Say goodbye to daily mascara struggles and hello to stunning, long-lasting lashes – all from the comfort of your home.